


9 Things Every New eBike Rider Should Know
These nine tips are important for every new electric bike owner to know. Whether you read everything right away or refer to this if you have a question about, say, when your brakes need to be replaced, we hope this information will offer support and guidance when it comes to riding and taking care of your new eBike.
If you have any questions, please don’t hesitate to reach out here.

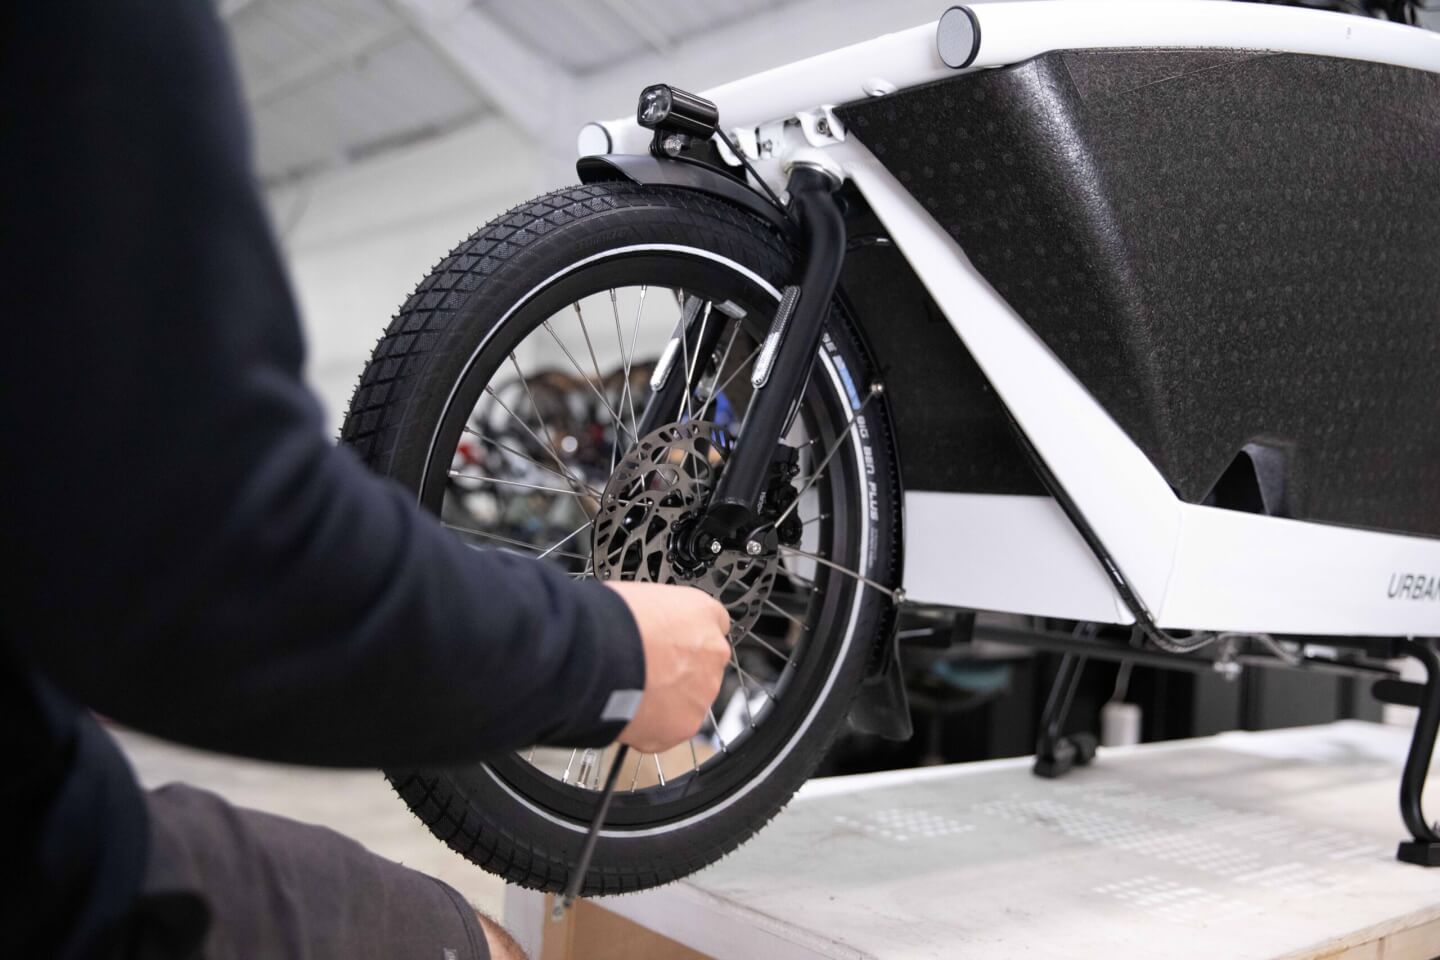
Here is an example of threads that were damaged during a simple rear wheel removal, and why care must be taken whenever using threaded fasteners.
1. How to tighten a bolt
Tightening and loosening the nuts and bolts of your eBike may seem like a straightforward task, so you might be surprised to find out how easy it is to damage certain components if you’re not sure of the exact specifications.
To prevent, for example, if you are adjusting your seatpost that does not use a quick release using an allen wrench, it helps to understand the forces at play and we highly recommend brushing up on these torque specifications, courtesy of Park Tool.
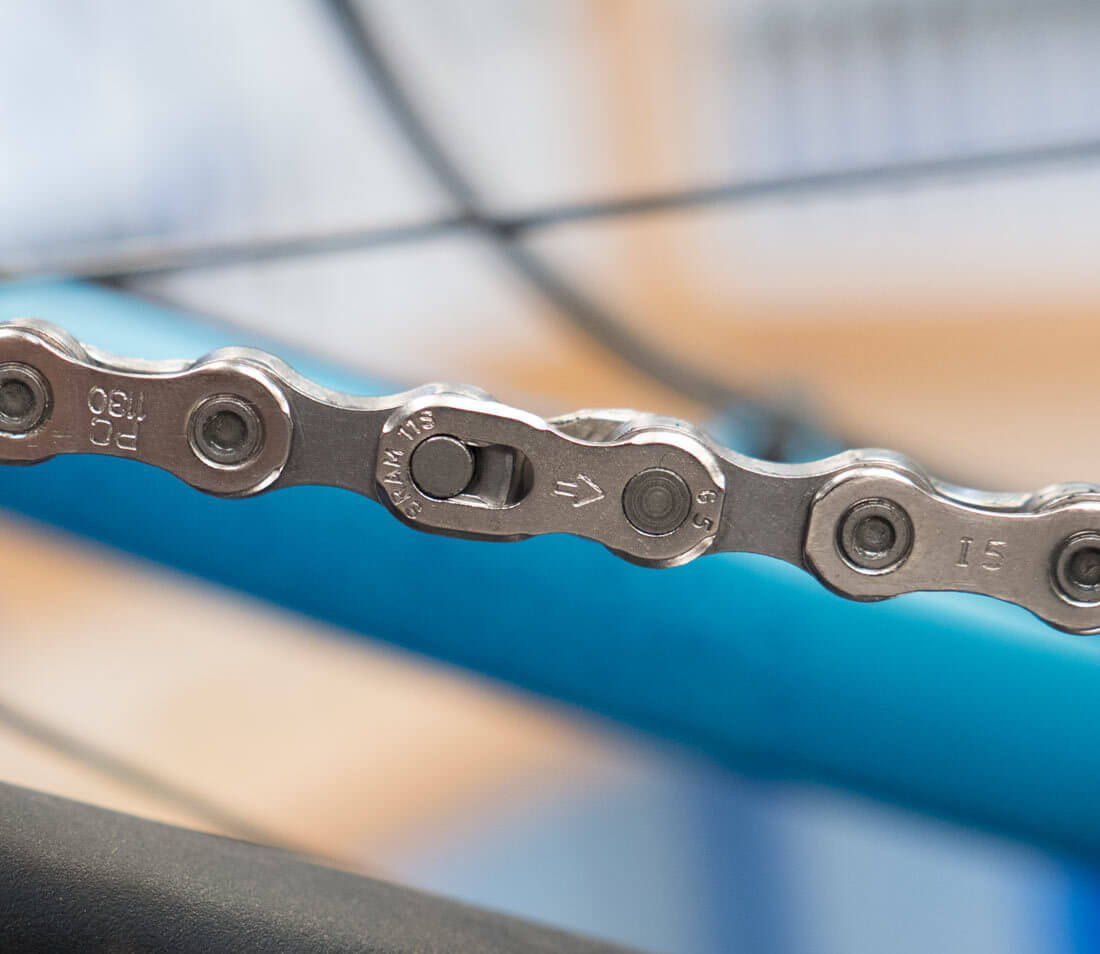
2. How to take care of your chain
Lubrication: Probably the most important thing to know about your bike is that the chain must be lubricated in order to work properly. Chains must be lubricated periodically, depending on the weather, the atmospheric conditions and the type of oil being used. In general, a heavier or “wet” lube will last longer, while running the risk of attracting more dirt, while a lighter or “dry” lube will dry up faster while being less likely to attract dirt.
Regular tune-ups: In addition, it is important to make sure that the gear-changing system is both used correctly and maintained (see tip #3 for more information on shifting). Most chain-driven bikes use a derailleur which moves the chain from one gear to the next. The sprockets vary in size, while the smallest sprocket tends to wear out the fastest.
It’s important to note that in order to get the most miles out of your chain, cassette and derailleur, they should be kept in good adjustment, with regards to the tension of the shift cable and the derailleur’s indexed limits.
Is your eBike having trouble shifting smoothly? Is it making a new sound that doesn’t seem right? It might be time for a tune up, or at the least, to give your mechanic a call.
Replace your chain every 1,000 to 3,000 miles: When it comes to replacing chains, there is no single formula to determine an exact mileage interval for replacement. A chain replacement is highly dependent on your riding style, which includes a variety of factors, such as if you’re carrying any cargo, the model of eBike and drivetrain, as well as the type of terrain you’re riding on most often. If you don’t know the mileage, and aren’t sure, look for an extremely dirty or weathered chain to tell you it’s time to replace.
However, a good rule of thumb for chain replacement is 1,000 to 3,000 miles. By learning how to ride while putting the least amount of stress on your chain as possible, you can extend the life of your chain.

3. The importance of shifting gears
While it may seem easier to stay in one gear forever, just remember that is a recipe for disaster. Those gears are there to make your overall riding experience that much more fun, enjoyable, and efficient, wherever your destination may be. It’s important to actively use the entire gear range to get the most use out of your chain and the rest of your drivetrain system, as well as to prevent breakdowns on the road.
In addition to using the entire gear range, care should be taken to avoid shifting too late, especially while riding uphill or stopping at an intersection. If you can look far enough ahead to see that you’re going to have to stop at a light or start riding up an incline, make sure to shift to an easier gear beforehand to prevent having to start from a hard gear or to shift while pedaling slowly up a hill. Not only does this keep your chain, derailleur, motor, and hub from wearing out too quickly, but it prevents causing even worse damage, such as potentially snapping the chain or hurting the derailleur.
For this reason, it’s a good idea for every chain-driven eBike owner to have a rough understanding of chain repair and replacement. Check out this handy guide to repairing a chain On the Ride.
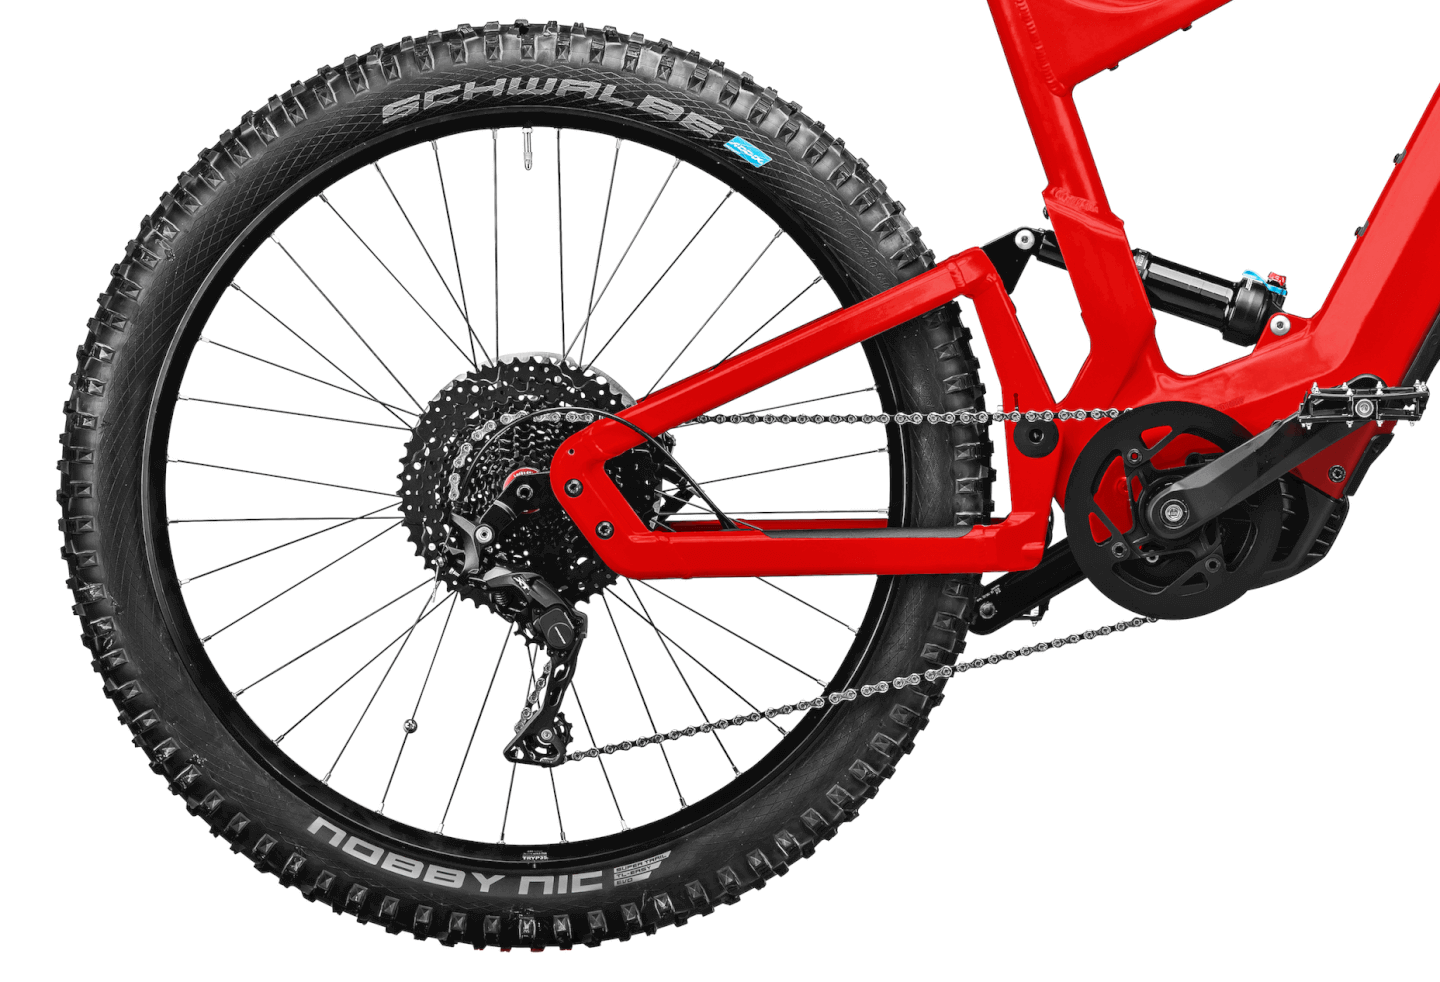
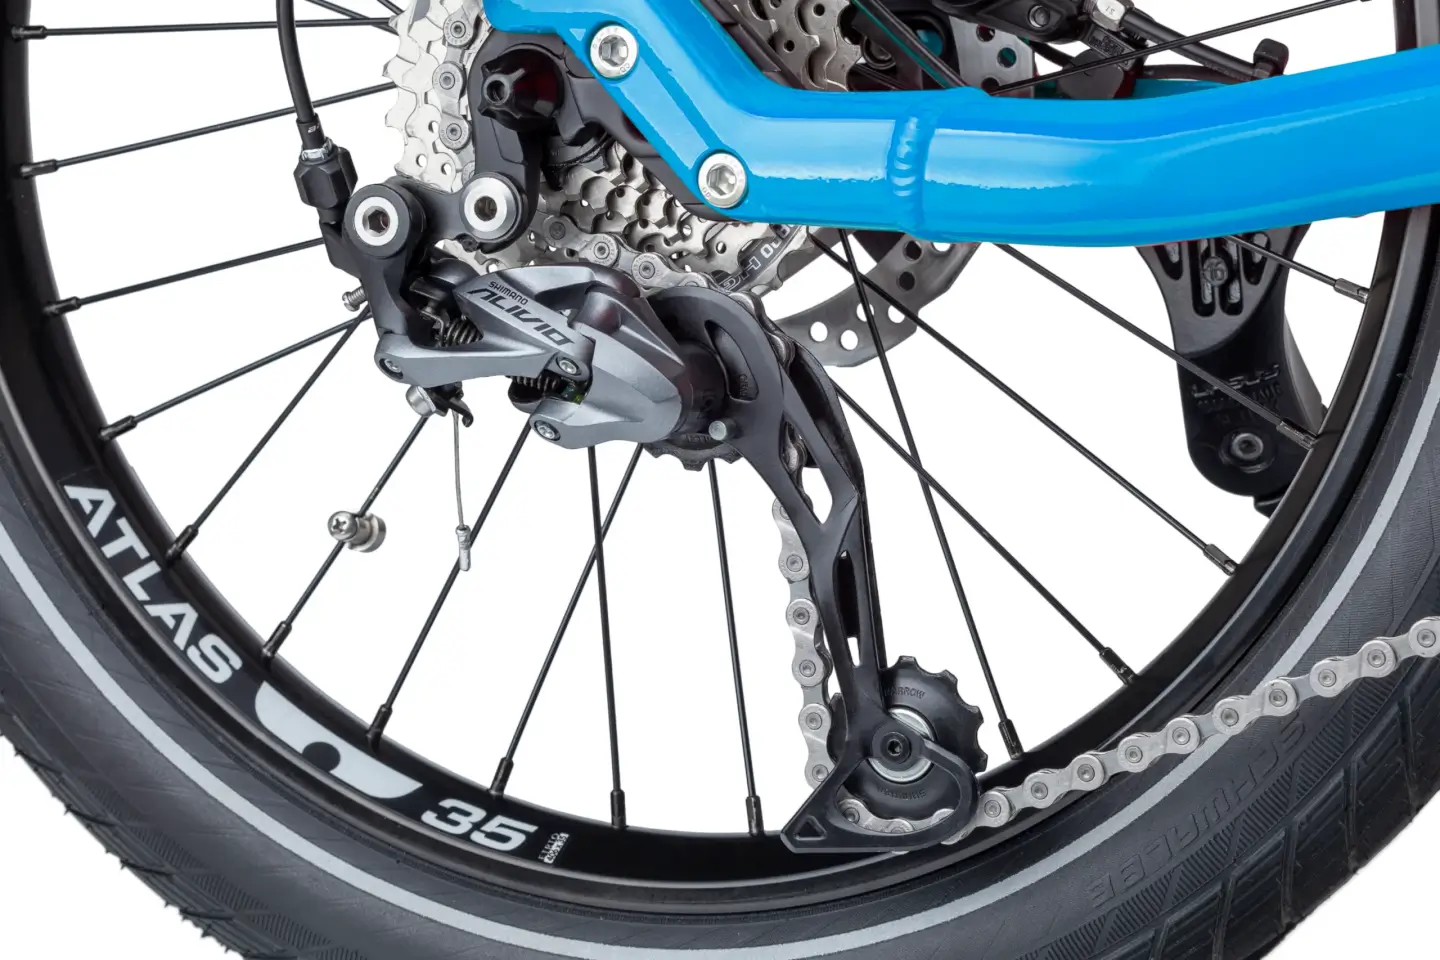
4. How to protect your derailleur
Because derailleurs tend to stick out of the back wheel a bit, creating a situation where it could be bent by accident, here are a few tips for protecting it.
If you’re riding off-road, you should take care not to pass too close to any obstacles low and to the right. The same applies to city riding, as well as locking the bike up and transporting it. For example, when loading it into the back of a car it is usually best to keep the derailleur side (right side) facing up.
The bikes we sell typically come with high quality, durable derailleurs, but in the event that you do need a replacement, they are typically very fast and easy to replace. If you’re in a pinch mid-ride with a bent derailleur, you can make it back home by gently bending it back to position by hand.
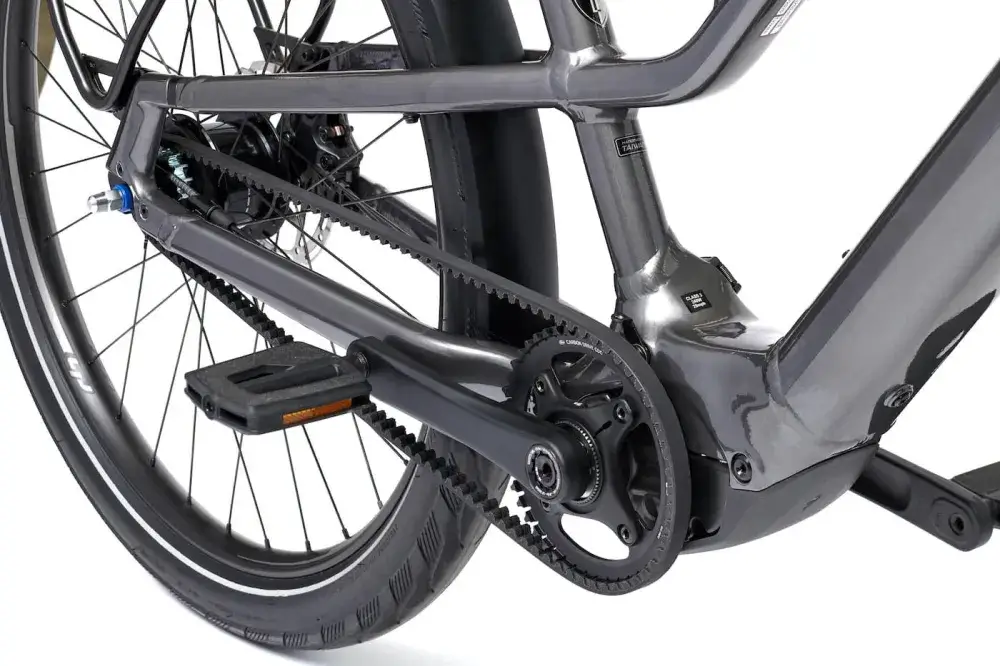
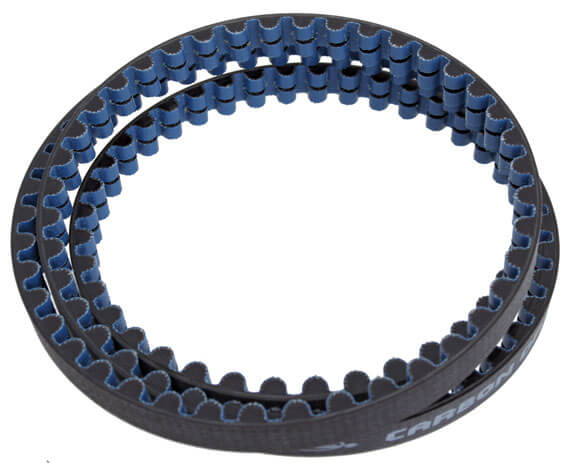
5. Belt drive maintenance
Many of the electric bikes we sell use a Gates brand carbon fiber belt drive. While this product is still relatively new to the bike industry compared to a traditional chain drive, Gates has been making belt drives for automotive and industrial applications for more than a century.
Belts, compared to chains, require far less maintenance. For example, there are no moving components in the belt that require lubrication. At worst, cleaning the belt will be the most frequent task you experience.
Checking belt drive tension: Periodically belt drives must be checked for tension and alignment. There are specialized tools, as well as a free smartphone app, that can measure the belt tension by using a mechanism similar to a guitar tuner. The frequency emitted by the vibrations of the belt are translated to a reading on the scale of loose to normal to tight.
Here’s the app for measuring belt tension: https://www.gatescarbondrive.com/products/tools.
The tension of the belt on your eBike will vary slightly depending on your riding style, as well as the weight of the bike, the cargo you’re carrying, and the terrain you ride on most often. Once the belt is set up properly, it shouldn’t need to be re-tensioned for another six to 12 months–or maybe never, depending on various factors (this is an estimate and can vary greatly depending on the rider).
Belt drive alignment: Alignment of the belt and the belt sprockets can become an issue if the bike experiences a collision, or if a component is shaken loose, becomes damaged or out of alignment. If you think this might be the case, you may need to bring your eBike in for service. At the very least give us a call, we’re always happy to help.
When to replace your belt drive: It’s tough to give an average mileage on when your belt may need to be replaced due to the variations in application, but based on the rough guidelines put forth from the manufacturer and our applied experience, about 5,000 to 6,000 miles per belt is a good rule of thumb. It all just depends on your riding style.
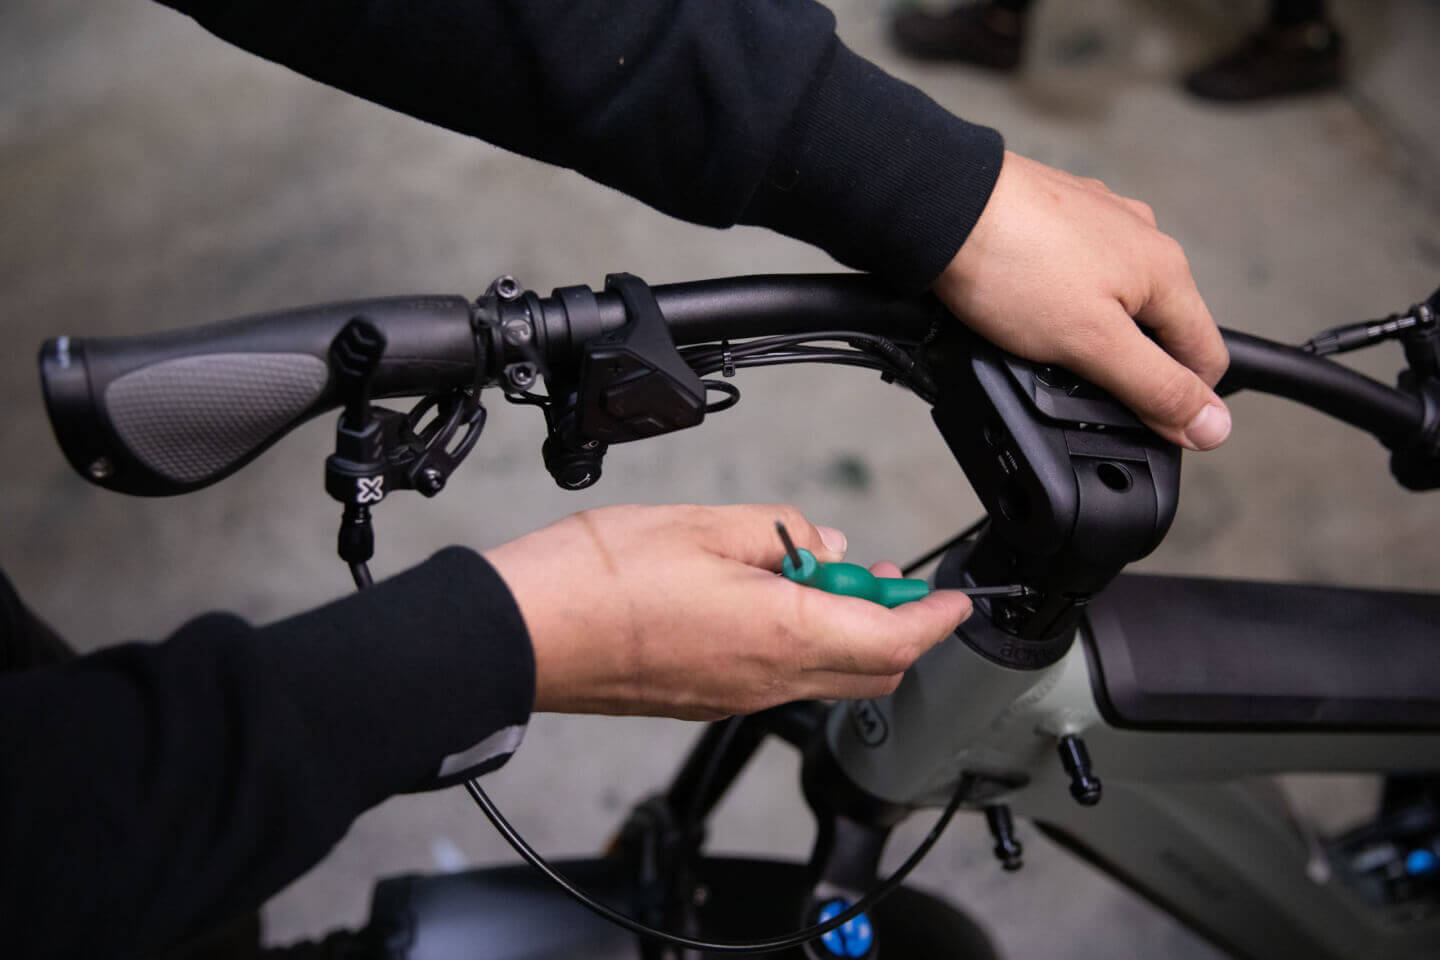
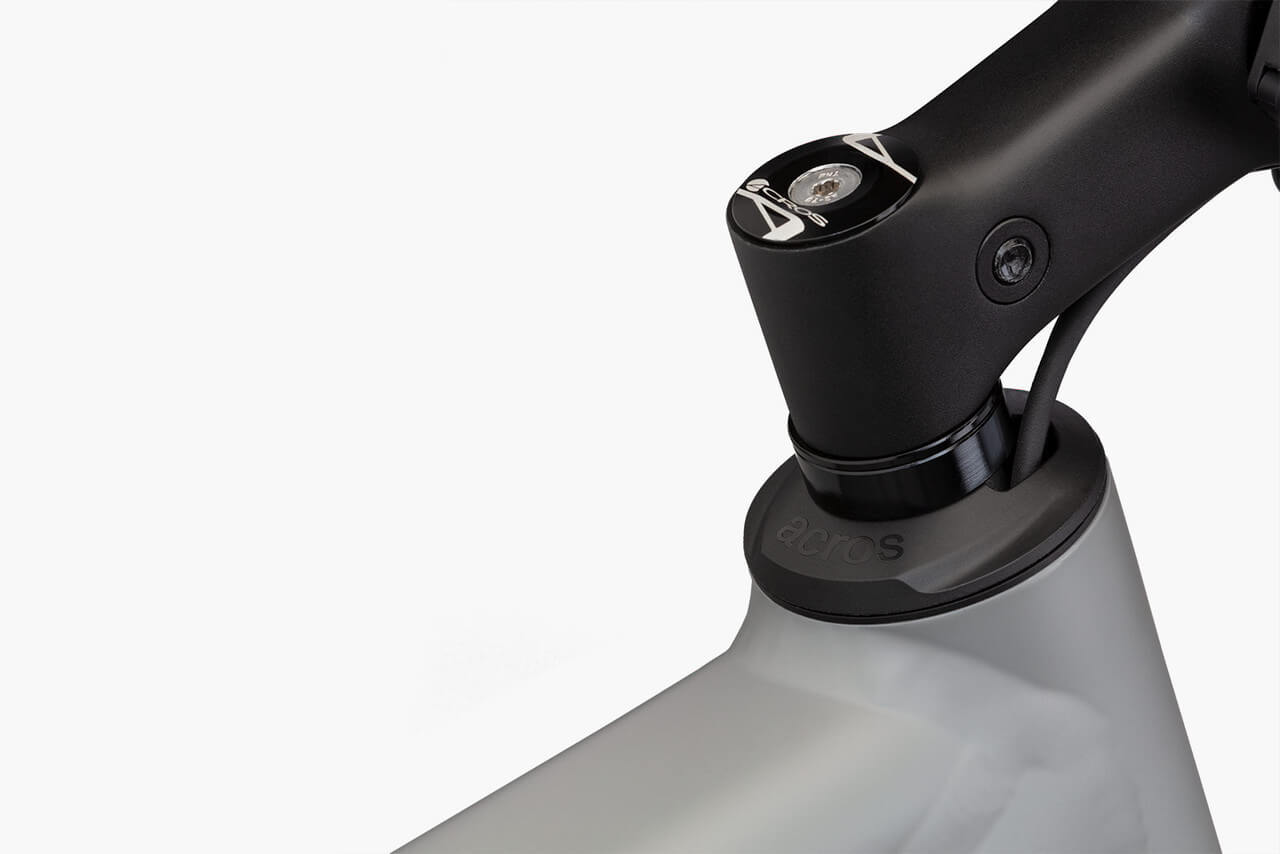
6. Tips for adjusting your handlebars, stem, & headset
When you are adjusting the handlebars and stem on your bike for the first time as you prepare to go riding, you may, in some cases, feel the headset bearing assembly become slightly loose. What this means is the steering bearing assembly may experience a shudder or heavy vibration on the front end, most noticeable when using the front brake, for example. It can be easily remedied by tightening the entire headset bearing assembly.
How to tighten the headset bearing assembly:
- Loosen the bolts on the side of the stem, allowing the stem and handlebars to pivot freely on the fork tube.
- Then, use the top cap bolt (also referred to as the compression bolt) to tighten the entire assembly, pulling the fork and front wheel up toward the stem and thereby reducing any looseness or play in the steering bearing assembly.
- Please note: This should be done with care and usually requires removing the top cap bolt all the way in order to put some grease on it to ensure everything fits up correctly.
- When adjusting the headset, if you happen to start disassembling it, either on purpose or by accident, take care to keep track of the small pieces. You can’t tighten a headset without all its parts.
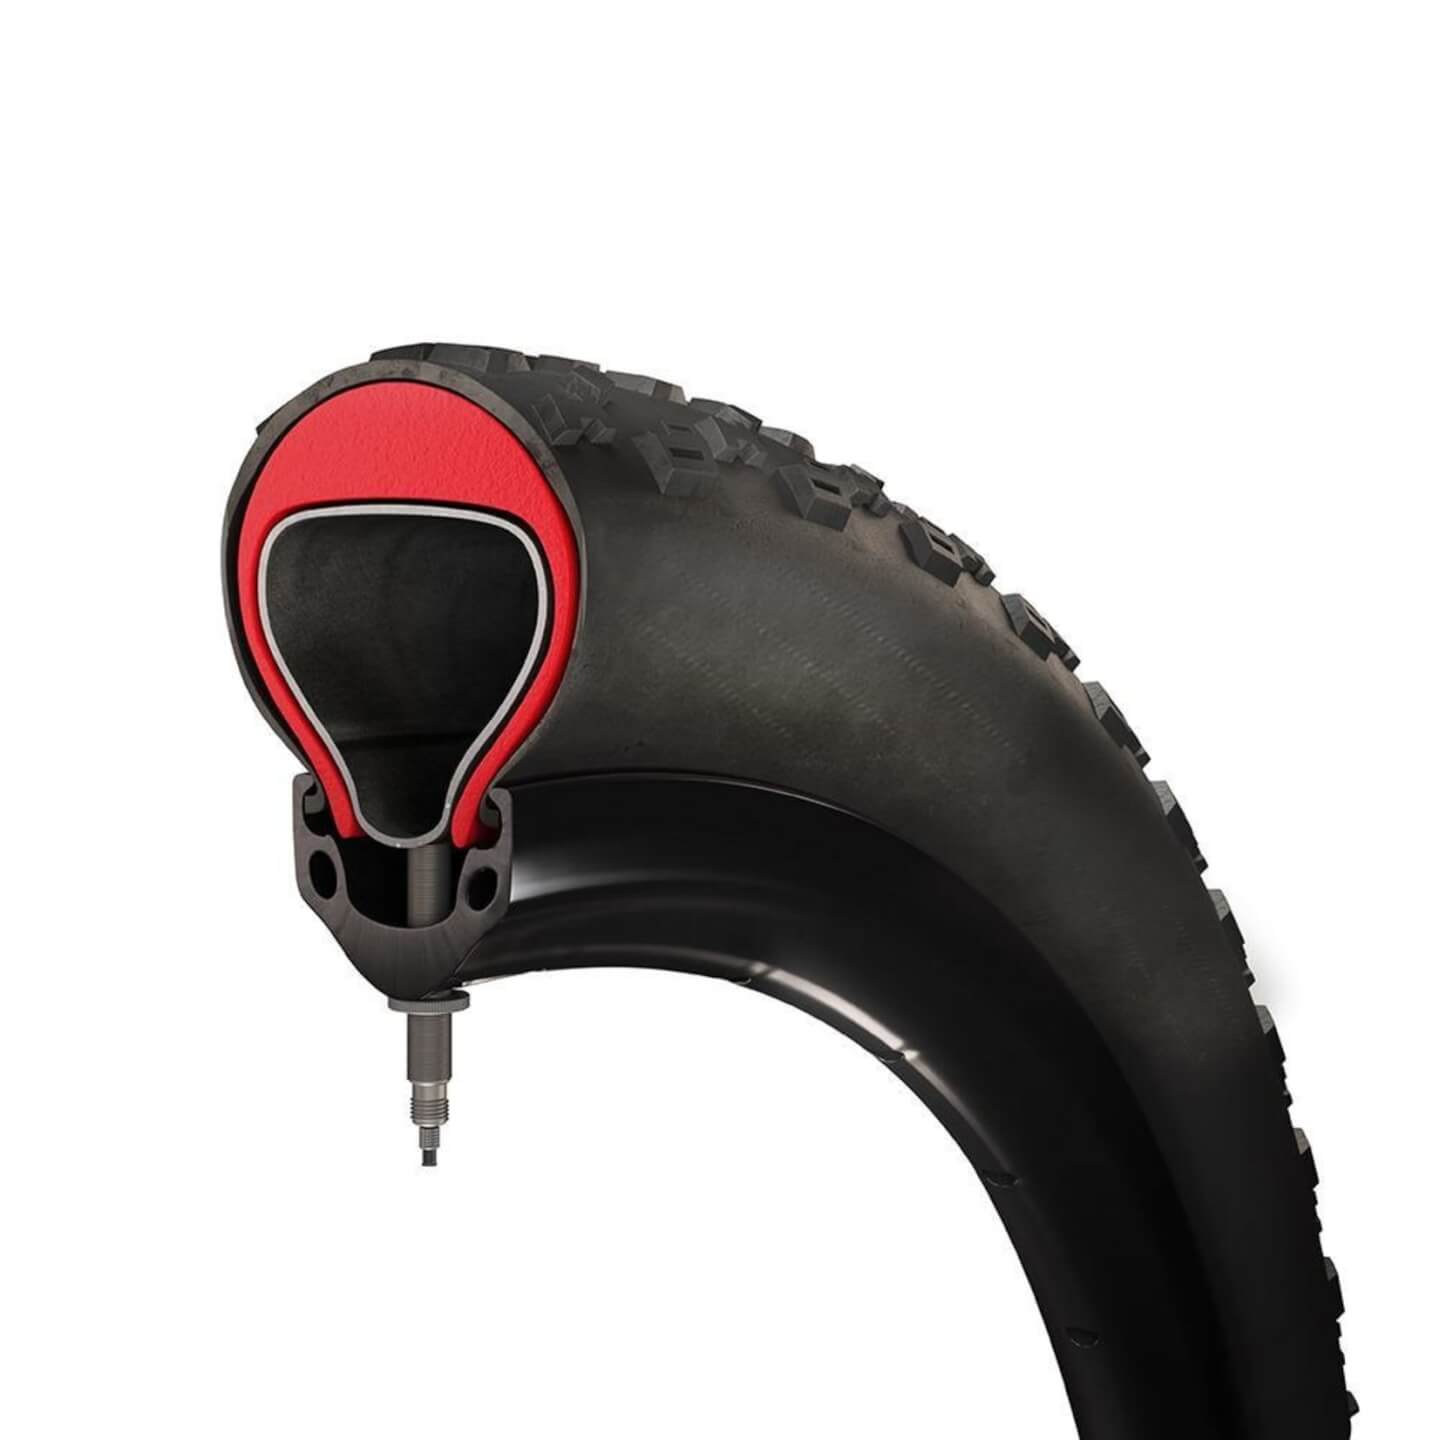
7. A few notes on tubes and tires
In case you get a flat: It’s always a good idea to have at least a few spare tubes at home and for the road in case you need to change a flat. Most of the bikes we have at Propel are sold with Schwalbe tubes, which we’ve found to be of good quality. Other brands we recommend include Continental, Q Tubes, WTB, Odyssey, Michelin, Teravail and Slime. Slime tubes are pre-filled with a sealant that will self-seal in the case of a small puncture.
Puncture protection: Extra thick tubes are not necessary, but can be a good application for flat prevention. In addition, some brands of tire liners, such as Tannus brand tire liners, work well to prevent flats by protecting the tube from punctures.
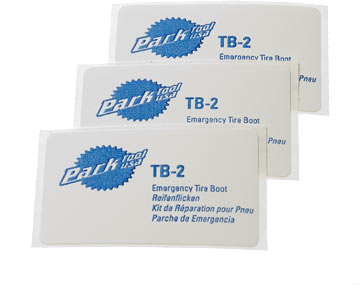
Tire boots, different from tube patches, are also available and work well to extend the life of a tire when it is not worn out but has a puncture that would damage a new inner tube.
The best tires for electric bikes: When it’s time to replace your tires, a heavier, thicker tire capable of handling the weight and speed of an eBike is usually the way to go. Electric bike rated tires are always preferred, but sometimes a non-eBike rated tire will make a good substitute, if no eBike rated tires are available.
Keep your tires pumped: It’s important to keep your tires inflated to the appropriate pressure. Not sure how much pressure your tires will allow? You can always find the PSI printed on the side of the tire. We recommend acquiring a floor pump with a gauge so you can see the PSI as you’re pumping air into the tire and so you can prevent adding too much or too little air.
Adjust your air pressure depending on the terrain: For riding on the road, such as pavement or asphalt, a firmer tire inflated toward the maximum end of the range is preferred. This will help prevent pinch flats from potholes and curbs and also keep your rolling resistance to a minimum. For off-road riding or for more grip, a little less air pressure is recommended to allow the tire to compress and conform to the uneven surfaces.
8. All about hydraulic disc brakes
Hydraulic disc brakes (which pretty much all of our bikes come with) work a little differently than cable brakes, which you may find more familiar as they often come on road bikes and mountain bikes of years past. While the cable brake is much simpler to service, the hydraulic brake offers a lot more power, and consistency of braking power, over the long term.
There are 7 main components of each hydraulic brake on the bikes we sell. We defined each component below, and added what to watch out for when it comes to service and replacement:
- Brake pads: It’s impossible to put an accurate mileage interval on when your brake pads need to be replaced, since it depends on so many factors, but about every 2,000 miles for a non-cargo bike and every 1,200 miles for a cargo bike is a safe rule of thumb.
- Brake fluid: The fluid should be checked, and/or burped or bled whenever replacing a set of pads or a rotor, or whenever the pressure in the brake lever feels soft. Fluid can break down over time, and at that point lose its ability to hold pressure.
While this isn’t something you should necessarily know how to do at home, it’s a good rule of thumb to know the type of brake fluid your brakes require, so when it comes time to bring your eBike in you can confirm with your mechanic.
There are a few different types of hydraulic brake fluid: Tektro and Shimano use red mineral oil, while Magura uses blue mineral oil. SRAM and Hayes use Dot fluid of various types.
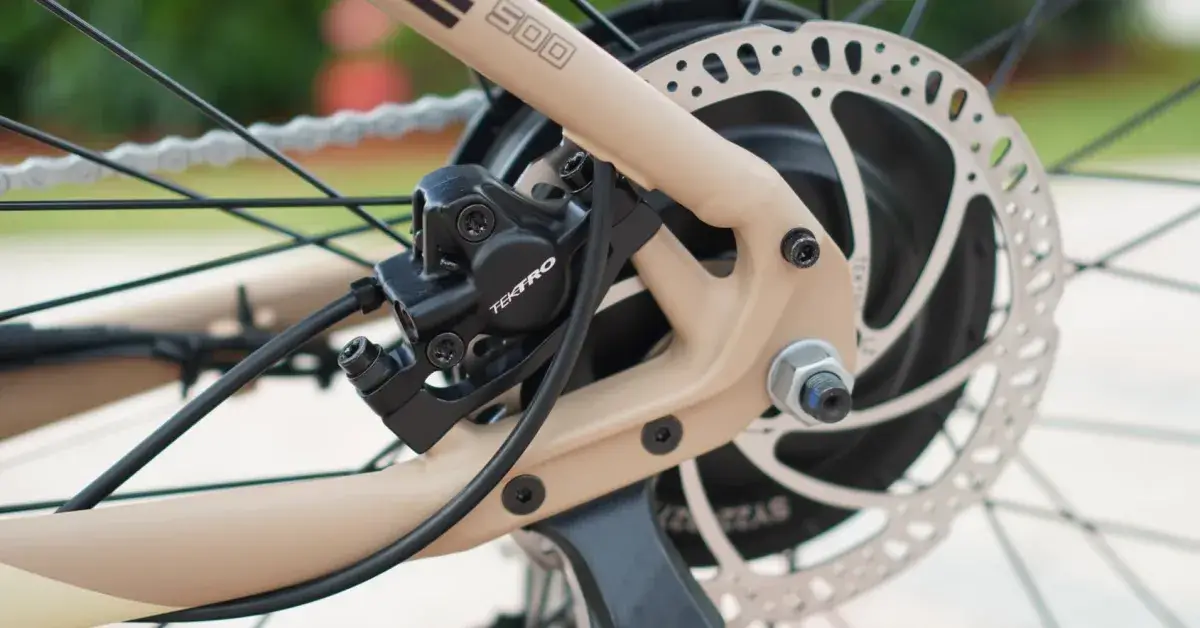
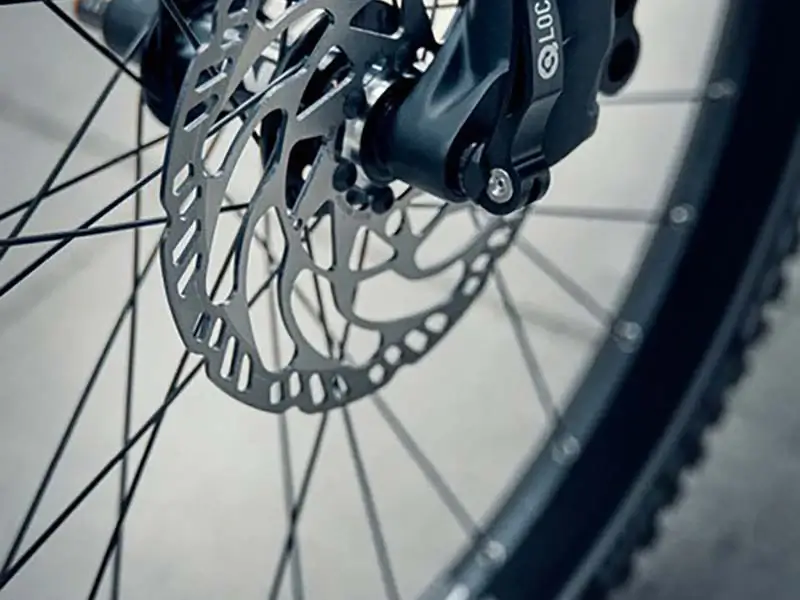
The rotor: The rotor is the metal disc on each wheel that the brake pads and caliper squeeze in order to slow the bike down and to stop. It is critical that the rotor is in good condition to prevent loss of braking performance.
Common threats to rotors include: Contaminants, such as motor oil on a city street that gets picked up during a rainstorm; regular wear, which happens over time from the brake pads biting at the rotor, and can also be exacerbated by a caliper that is out of alignment and dragging on the rotor; certain scenarios, such as riding off-road, when the rotor should be checked periodically to make sure it’s not getting impacted by rocks, gravel, etc.
When rotors should be replaced: If they develop a step, or lip in the surface, indicating that it is starting to get gouged out. Another sign to look out for, is if you see a purple iridescent surface where the brake pads hit the rotor, it’s likely time to replace it.
- Brake lever (also known as the master cylinder assembly): The brake lever consists of two parts: a lever blade, the part that sticks out from the grip, that you rest your fingers on and pull, and a piston (that isn’t really visible) inside the brake lever housing, which is called a master cylinder or primary cylinder.
When the brake lever blade is pulled, it activates your brake system by pushing in the master cylinder piston, which in turn compresses the hydraulic fluid contained inside. The master cylinder converts the force of your fingers pulling the lever blade(s) into hydraulic pressure.
If you ever drop your bike on its side, make sure to check the lever, as this is one of the most common causes of a blown seal on a master cylinder (and could also cause a blown seal further down the line on the caliper, too), which would then require replacement. And if your brake lever feels soft suddenly, it is a sure sign that your brakes need service.
Most hydraulic brake levers have an easy-to-access “free stroke lever adjustment” knob or adjustment screw which allows you to adjust the distance from the grip to the lever to accommodate smaller or larger hands. This is also an easy way to cheat more stopping power out of your brake system in the short term, however, in the long term you cannot just increase the distance from the grip to the lever, you must service the pads, rotor and fluids.
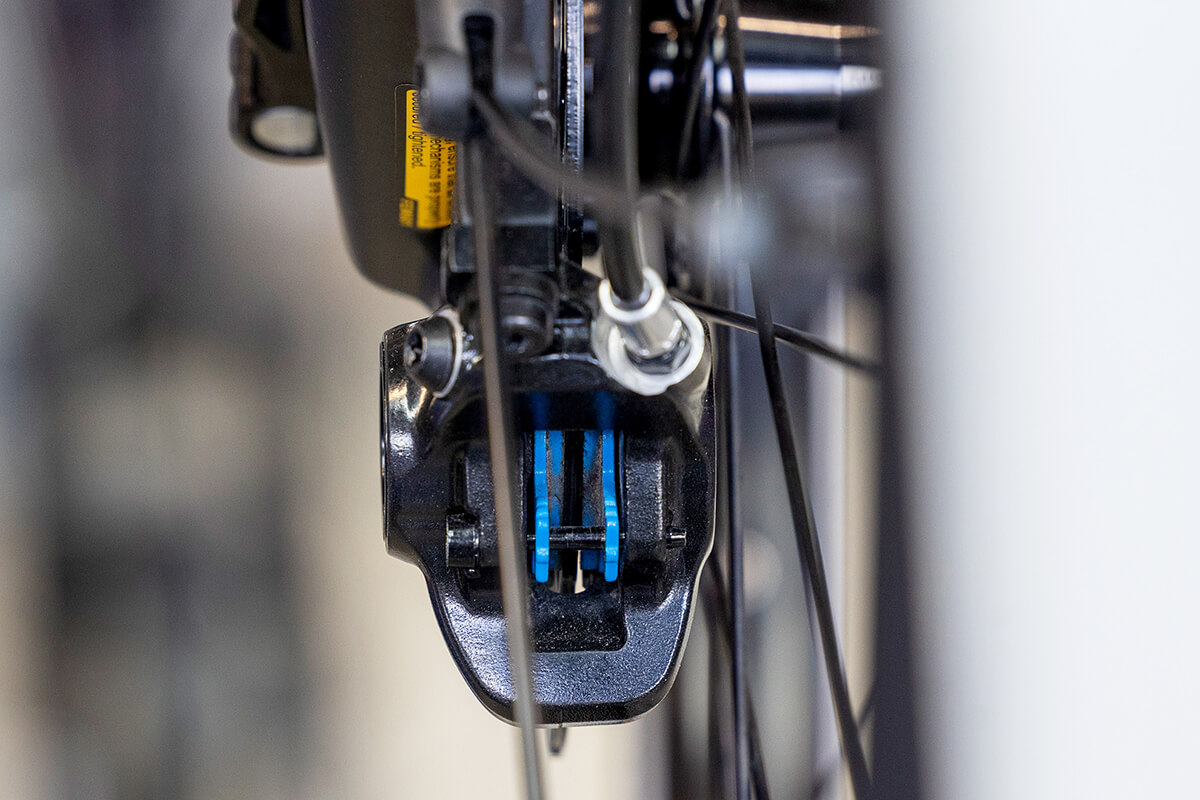
- Brake caliper: Calipers, which are located by the brake disc, are usually an unnoticed part of the whole brake system. They can sometimes develop leaks in the seals, but that is uncommon if the bike is well maintained, and they mostly stay out of the way. They do require pad changes periodically, as well as realignment.
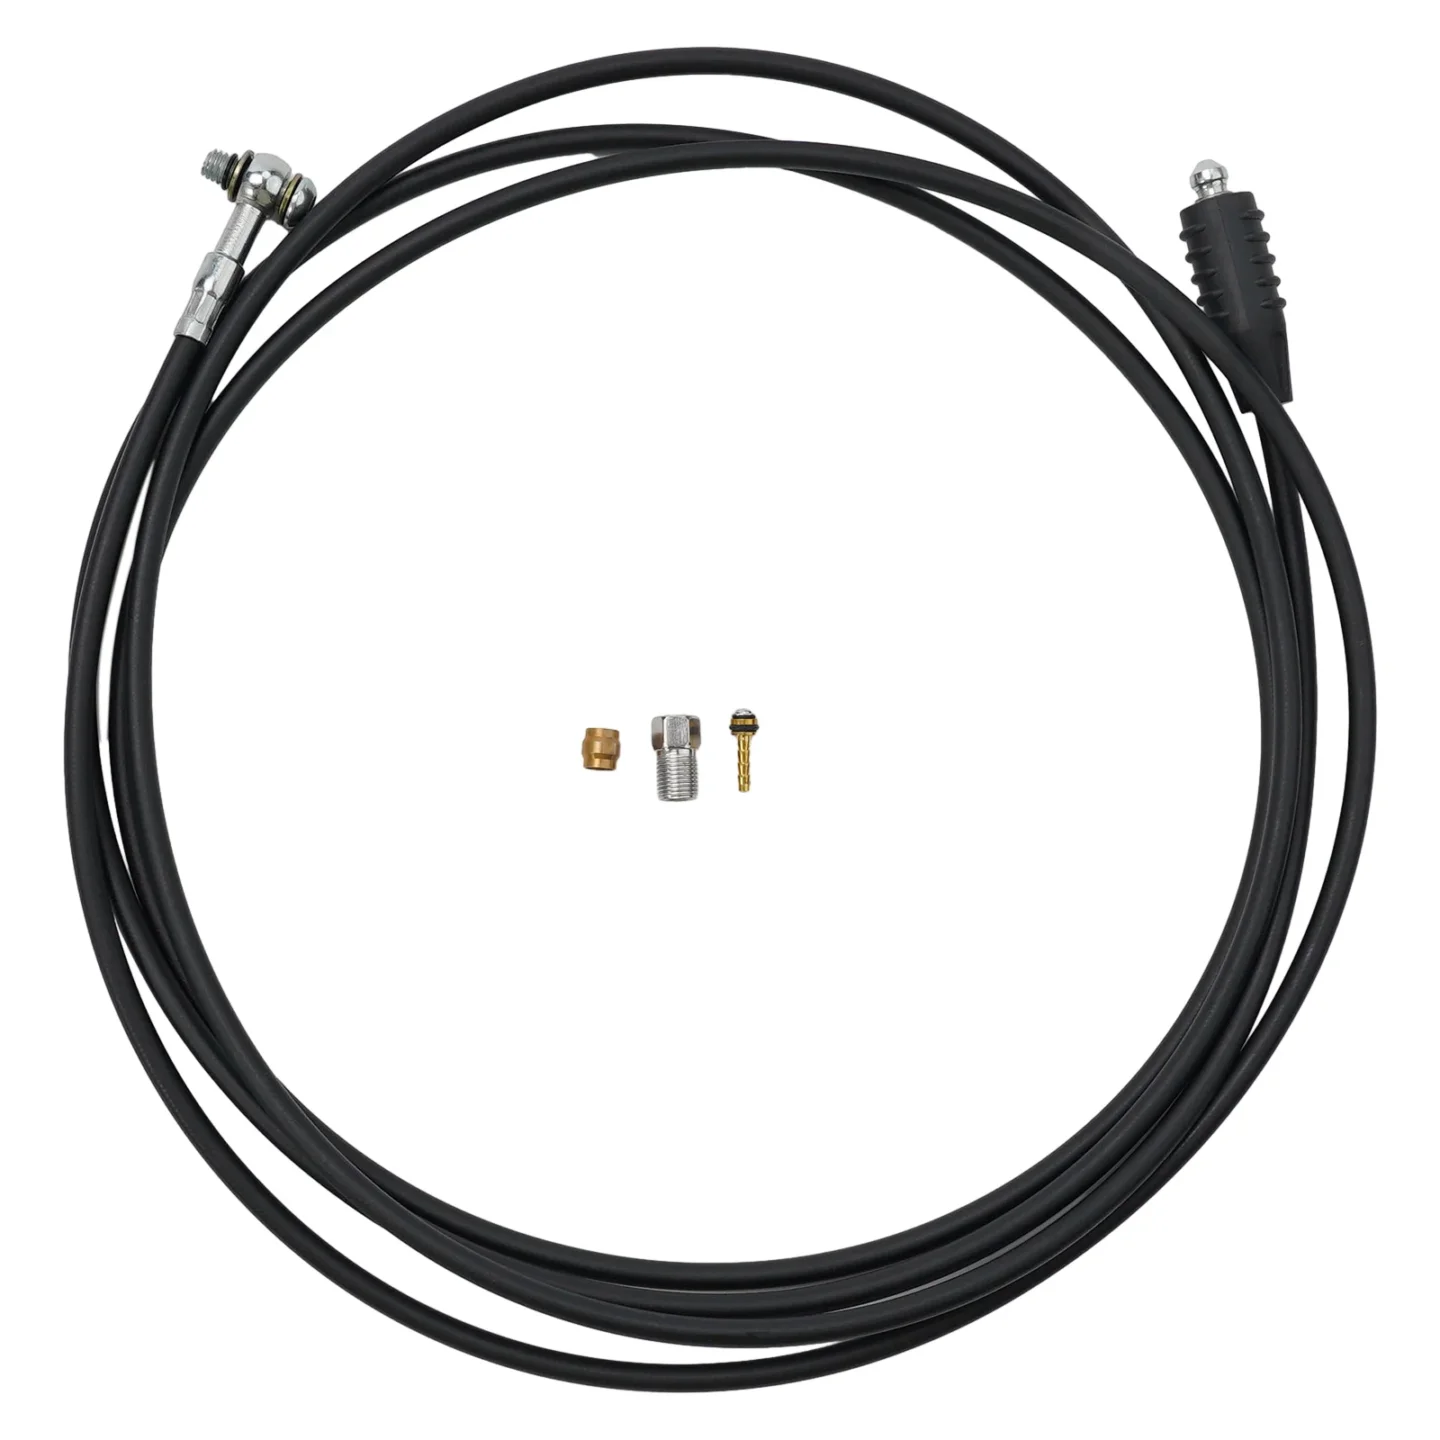
- Brake hoses: The brake hoses, the delivery mechanism of the brake system, are pressurized and depressurized when you squeeze the brake levers. The master cylinder pressurizes the fluid, which then travels through the hose with considerable force to the caliper, where the pistons are pressurized to apply braking force from the brake pads to the rotor.
- Seals, o-rings and hydraulic fittings: These components are almost unseen to the naked eye, but are integral to holding the pressure inside the master cylinder, hose, and brake caliper. Without these seals, o-rings and fittings, the system wouldn’t work and would leak constantly.
On older brake systems, manufacturers used to recommend overhauling calipers and master cylinders with fresh seals, o-rings and fittings in order to keep the bike maintained. However, in today’s world, the standard practice is to replace whichever component has a failed seal, be it the master cylinder, the hose, or the caliper.
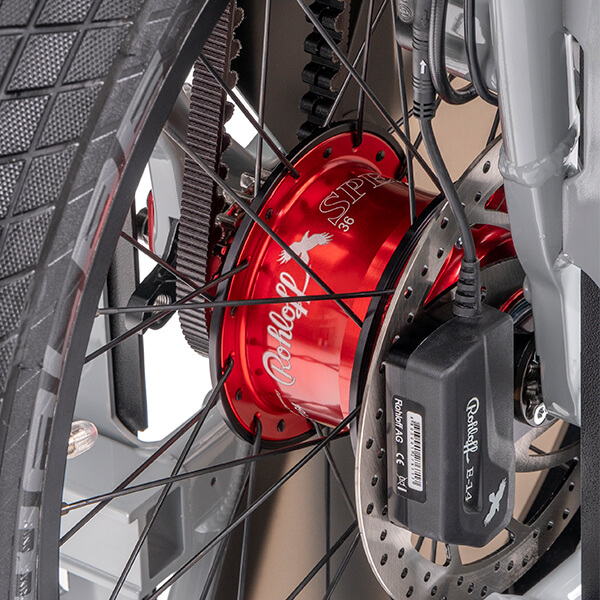

9. Internal geared hubs
Many of the bikes we sell (whether equipped with a chain, or a belt) come with an internal geared hub (also referred to as IGH, for short) in place of the more common external derailleur that is seen on many bicycles.
The main difference between an external derailleur and an internal geared hub is apparent in their names. With an external derailleur, the gear changes are easy to identify for anyone by looking at the rear wheel of the bike. With an internal geared hub the gear changes are all on the inside, and not visible while the bike is in use. Similarly, an external derailleur is exposed to the elements and may get knocked around during use while an internal geared hub doesn’t have this component sticking out of the rear wheel to worry about.
Their are pros and cons to each, the main factors being performance vs. wear, although the Rohloff hub does a good job of combining performance and wear. In general terms, an external derailleur is lighter, snappier, sportier, and both easier and harder to operate, in that it is intended for shifting while pedaling, but not intended for shifting under load at slow speed (ie., you must take care to take off from the easy gears and work your way up from there). Last, it is important that the chain is lubricated consistently both for an IGH system or a derailleur but it is especially important for a derailleur or it will not work correctly.
The internal geared hubs on the other hand don’t care if you are shifting under load at slow speed, as long as you are not pedaling while shifting. The internal geared hubs, to varying degrees, can only shift while the cranks are stationary, or with light pressure on the pedal rotation. For the Enviolo hub, pedaling while shifting can cause the cables to bind in some cases. In the case of the Rohloff, you may cause the oil to wear down a little quicker–which is recommended to be replaced every 3250 miles, approximately–but otherwise there isn’t much danger, apart from wearing out your belt or chain a little bit faster. In the case of the Shimano hub, you run the same risks more or less. It won’t totally bind up, but there will be a slight delay before the hub shifts into gear. Once you take the pressure off the pedals, then the hub shifts.For each brand of internal geared hub, whether it is an Enviolo, Shimano or Rohloff, we suggest you refer to the manufacturers’ guidelines for more information and maintenance tips. You can always call us as well!